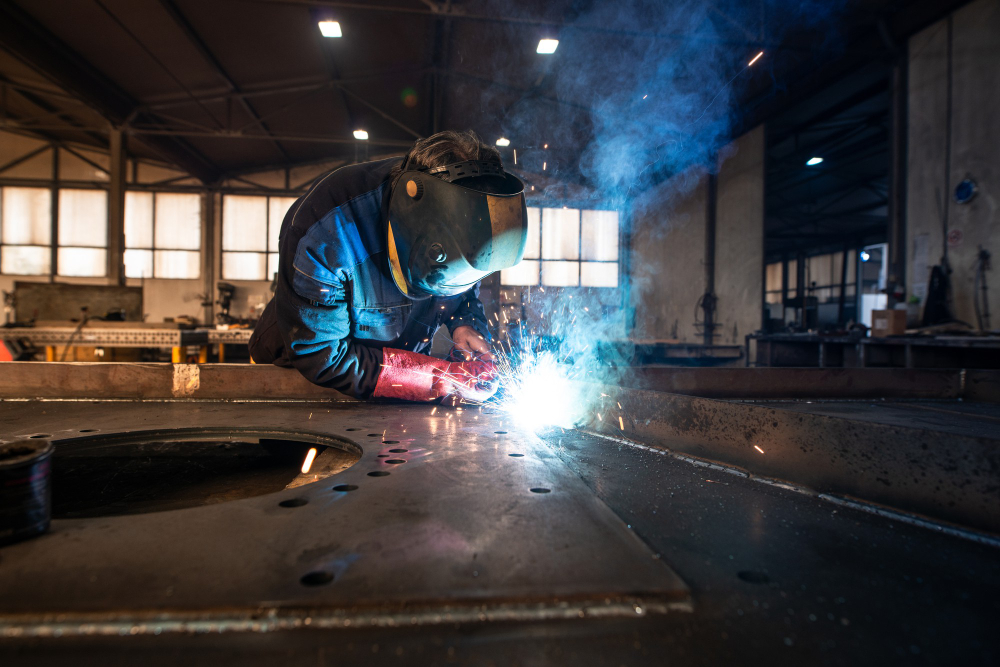
For those in the welding industry, a 6G welding certification is essential for anyone looking to weld pipe. The bevel is critical to this process, and there are many ways to achieve the desired results. In this blog post, we will explore how to bevel pipe for a 6G welding certification, so that you can be well on your way to becoming a certified welder.
Welding Guide
How To Bevel Pipe for a 6G Welding Certification
Published: 2024-01-31
Need Metal Welding Work?
Get a free quote from our expert welders
What is a bevel?
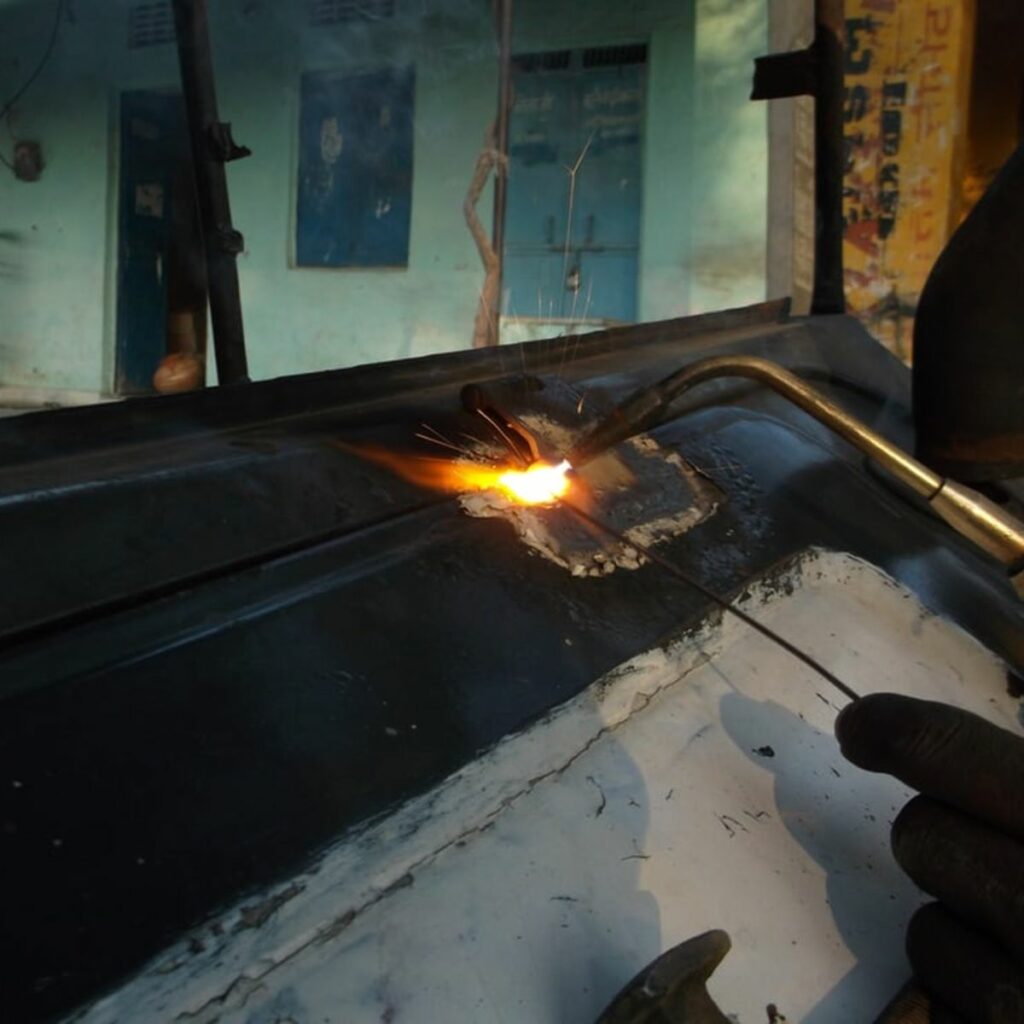
A bevel is a 45-degree angle cut that is made on the end of a pipe. This cut is made so that when the pipe is welded to another piece of metal, there is no gap between the two pieces. The bevel allows for a smooth, flush weld.

The Different Types of Bevels
Bevels are categorized according to their angles, which are defined by the included angle. The three most common types of bevels used in welding are the V-bevel, the compound bevel, and the U-bevel.
V-Bevel: A V-bevel is made by cutting two sloping surfaces at a 90° angle to each other. The included angle of a V-bevel is therefore always 90°. V-bevels are used when welding two pieces of metal at a right angle to each other, such as when joining a pipe to a flat plate.
Compound Bevel: A compound bevel is made by cutting two sloping surfaces at an angle that is less than 90°. The most common included angles for compound bevels are 30°, 45°, and 60°. Compound bevels are used when welding two pieces of metal at an angle that is not a right angle, such as when joining two pipes at an elbow joint.
U-Bevel: A U-bevel is made by cutting a single sloping surface into a piece of metal. The included angle of a U-bevel can be any value from 0° to 180°. U-bevels are used when welding two pieces of metal together edge-to-edge, such as when joining two plates along their edges.
How to Create a J-Bevel
Before you can bevel pipe for a G welding certification, you'll need to have the proper tools and materials. You'll need a welder, gloves, a face shield, and an angle grinder with a metal cutting blade. You'll also need a jig or some other way to hold the pipe in place while you work.
To start, set the pipe in the jig and clamp it down. Then, don your gloves and face shield. Using the angle grinder, carefully cut away at the edge of the pipe at a 45-degree angle. Be sure to go slow and steady your hand to avoid mistakes.
Once you've cut around the circumference of the pipe, use a wire brush to remove any debris or loose particles. Now, you're ready to weld!

Need Metal Welding Work?
Our expert welders are ready to help with your project. Call us now for a free quote.
Call Us NowHow to Create a V-Bevel
To create a V-bevel, you will need the following tools: a pipe bevelled, a vice, and a grinder.
First, clamp the pipe in the vice so that the end to be bevelled is sticking out. Second, use the pipe beveler to cut a 45-degree angle around the circumference of the end of the pipe. Once you have made your cuts, remove the burrs with the grinder.
Now you are ready to weld!
How to Create an X-Bevel
To create an X-Bevel, you will first need to mark the pipe that is to bevelled. You will then need to set your welder up in the 2F or 3F position. Once you have your welder set up, you will need to weld a 1/8″ bead around the pipe. After welding the 1/8″ bead, you will then need to weld a 1/4″ bead on top of the 1/8″ bead. Once you have welded the two beads, you will then need to grind the weld down flush with the pipe.
How To Tack Weld A Pipe For An Open Root Weld Joint
When it comes to tacking weld a pipe for an open root welding joint, there are a few things that you need to keep in mind. First, you need to make sure that the bevel is consistent all the way around the circumference of the pipe. Second, you need to create a gap between the two pieces of metal that you are welding together. This gap should be about 1/16 of an inch. Finally, you need to use a filler rod that is compatible with the metal being used in the project.
Now that we have gone over the basics, let's get into how to tack weld a pipe for an open root welding joint. The first step is to set up your workspace. You will need two clamps, a welding machine, and some sort of power source. Once you have your workspace set up, you can begin preparing the pipe.
The next step is to clean off the pipe. This can be done with a wire brush or some sandpaper. Once the pipe is clean, you can then begin to set up the bevel. The bevel should be about 45 degrees and should be consistent all around the circumference of the pipe.
After the bevel is set up, it's time to start tacking welds. To do this, you will need to put two clamps on either side of the gap that you created earlier. Once the clamps are in place, you can then begin welding along.
Welding Machine Set-Up For Tack Welding Pipe With An E6010
Before you can weld pipe with an E6010, you need to set up your welding machine. The process is relatively simple and only requires a few minutes.
First, you'll need to select the correct amperage and polarity for your machine. For E6010 welding, you'll need an AC output with about 60-70 amps. You'll also need to set the machine to DCEN (direct current electrode negative).
Next, you'll need to attach the ground clamp to the pipe. Be sure that the ground clamp is securely attached before proceeding.
Now it's time to set up your electrodes. For E6010 welding, you'll need 1/8″ diameter electrodes. Set the electrode holder so that it's about 2″ from the end of the electrode stack.
Finally, adjust your welder's travel speed. For tack welding, you'll want a slower travel speed so that you can better control the weld bead. A good starting point is about 12 inche's per minute.
Inspection Of The Pipe In The 6G Fixed Position
Before welding can begin, the pipe must be inspected for any defects. The most common defects are cracks, holes, or other damage to the pipe. Once the pipe is inspected, the welder can then determine the best way to weld the pipe.
There are many ways to inspect a pipe for defects. The most common method is to use a visual inspection. This involves looking at the pipe with the naked eye or using a magnifying glass. If there are any defects, they will be visible to the inspector.
Another common method of inspection is called radiographic inspection. This uses X-rays or gamma rays to look for defects inside the pipe. Radiographic inspection is more expensive than visual inspection but it can find smaller defects that might not be visible to the naked eye.
Once the pipe has been inspected, the welder can then start preparing for welding. The first step is to clean the area around the joint that will be welded. This ensures that no dirt or debris could contaminate the weld.
The next step is to prepare the edges of the pipe for welding. This is done by creating a bevel on each edge of the pipe. The bevel helps ensure that there is a good seal between the two pieces of pipe when they are welded together.
After the edges of the pipe have been prepared, it is time to weld. The welder will start by striking an arc between the electrode and the
Key Takeaways
- ✓ Always use proper safety equipment when welding or working with metal
- ✓ Choose the right welding technique for your specific material and project
- ✓ For professional results, contact licensed and certified welders
Need help with your project? Call Sydney Welding on 0426 416 748 for a free quote.

Conclusion
Welding is a challenging but rewarding profession, and is certified in welding can open up a lot of doors for you. To become certified, you need to be able to demonstrate your skills by passing a welding test. One of the most important aspects of welding is creating a bevel on the pipe, and in this article, we've shown you how to do just that. With these tips in mind, you should be well on your way to getting your 6G welding certification.
Our Welding Services
Looking for professional welding work? Check out our full range of services.
Request a FREE Quote!
Or call us directly on 0426 416 748
More Welding Guides

4 Different Types of Welding Processes
The welding process is an important one in the manufacturing industry. It s a method used to join two or more pieces of metal together by using heat and pressure. The pressure is applied with an electrode, which is then connected to a power source. Welding is used in a variety of industries, including construction, automotive, aerospace, and more. It s a versatile process that can be used to create everything from small parts to large structures. There are four different types of welding process
Read Guide
4 Types of Steel: What Makes Them Different?
Steel is one of the most common materials used in manufacturing and construction. It s strong, durable, and versatile, which makes it ideal for a wide range of applications. But did you know that there are different types of steel? In this blog post, we ll be taking a look at four of the most common types of steel and what sets them apart. Carbon Steel Carbon steel is one of the most common and versatile types of steel. It s composed of iron and carbon, which gives it a wide range of properties
Read Guide
Different Sorts Of Steel Metals
If you re in the steel market, you might be overwhelmed by all of the available different types. How do you know which one is right for your project? In this blog post, we will explore the four most common types of steel and their key differences. From carbon steel to stainless steel and more, read on to learn about each type of steel and what sets it apart from the rest. There are dozens of types of steel, each with unique chemical and physical properties. In this article, we ll take a look at
Read Guide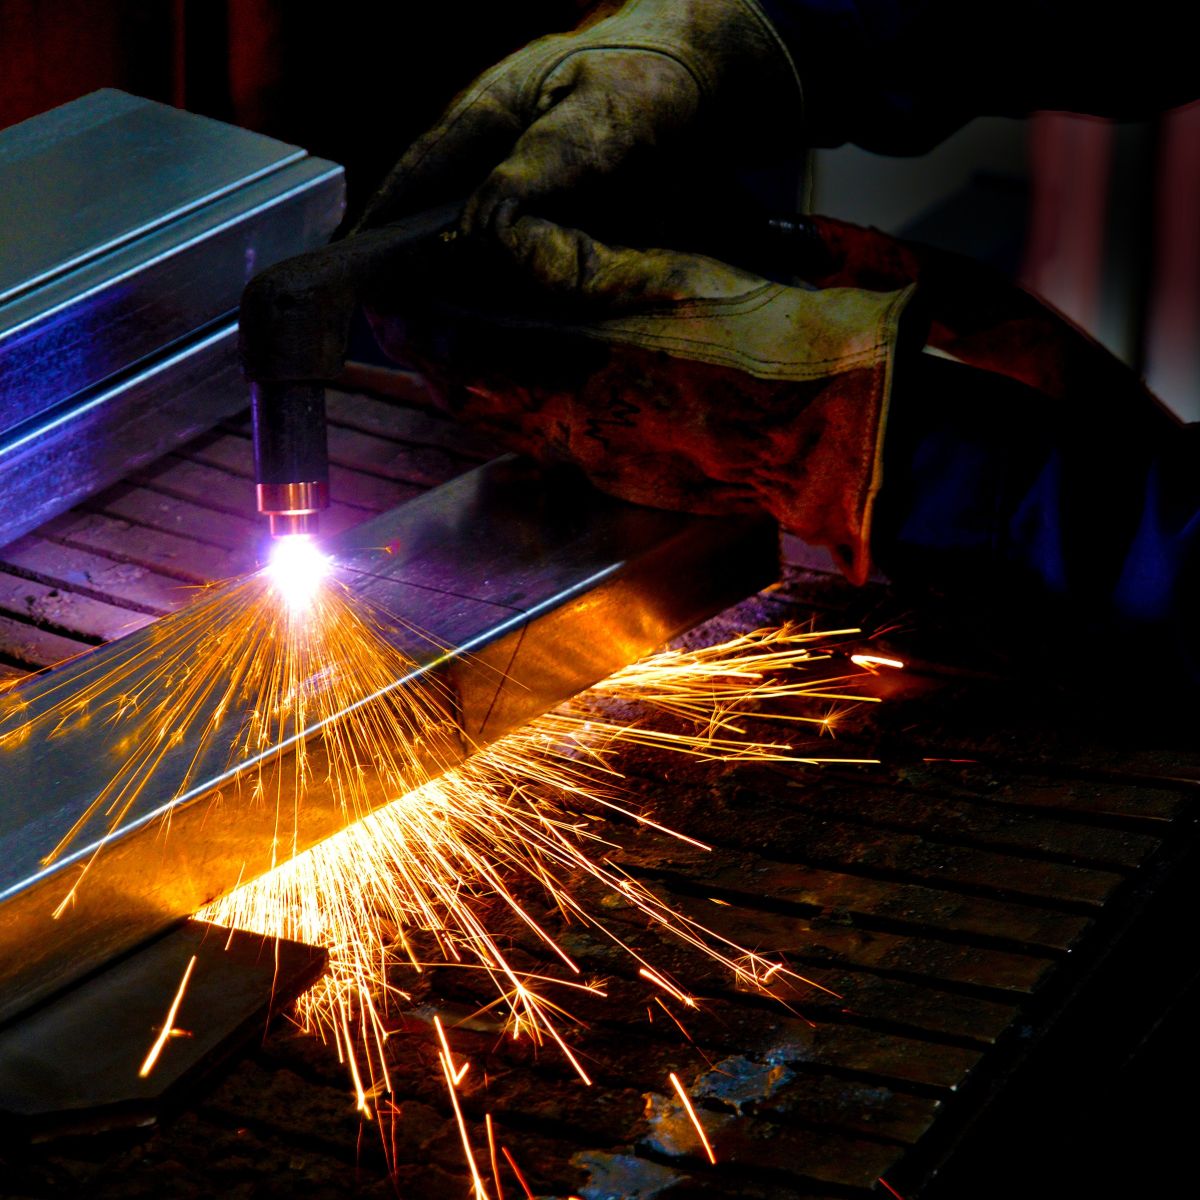
Which Metal Will Burn? Australian General Engineering
Which Metal Will Burn? Australian General Engineering Have you ever wondered which metal will burn? We all know that metal is a good conductor of heat, but did you know that some metals are more flammable than others? In this blog post, we ll take a look at the different flammability levels of various metals, so you can be informed the next time you re working with them. We ll also explore how to extinguish a metal fire, in case you ever find yourself in that situation. What is the Difference Be
Read GuideWhat things need to be considered for Welding Goggles ?
There are a lot of things that need to consider before purchasing welding goggles. In this blog post, we will discuss those things in detail so that you can make an informed decision. The first thing that you need to consider is the type of welding torch you will be using. There are two types of welding torche's available in the market gas and plasma. If you are using a gas welding torch, then you need to purchase gas welding goggles. On the other hand, if you are using a plasma welding torch, th
Read Guide
What's the Best Way to Cut Steel Wire Rope?
What is the process of Cut Steel Cable? Cutting steel cable is a process that requires the use of a specialized cutting tool. The most common type of cutting tool for this purpose is a rotary cutter, which uses a rotating blade to cut through the cable. There are also handheld cutting tools available that can be used to cut steel cables, but these are not as common. To cut steel cable with a rotary cutter, first make sure that the cutting tool is properly positioned and secured. Next, align the
Read Guide